Where to Mount Your LED Light Bar for Maximum Performance | Black Oak LED
Why Mounting Height Matters: Optimizing LED Light Bar Placement for Maximum Performance
Lighting performance isn’t just about lumens—it’s about how and where that light is projected. Mounting height, angle, and beam pattern all play a critical role in improving visibility or, if done wrong, creating glare, blind spots, and poor depth perception. This guide explains how to mount your LED light bar or pod lights with precision, based on your vehicle type and terrain.
The Science of Mounting Height
Light follows physics. Mounting your LED light higher increases throw distance—but it also comes with tradeoffs.
Pros of High Mounting (Roof, Rack, Windshield):
- Increases beam distance (better horizon lighting)
- Improves overall spread pattern
- Clears low obstacles (brush, terrain rises)
Cons:
- More glare/reflection off hood or windshield
- Greater shadows near the vehicle
- Less effective in fog, dust, or snow due to backscatter
Mounting Zones Compared
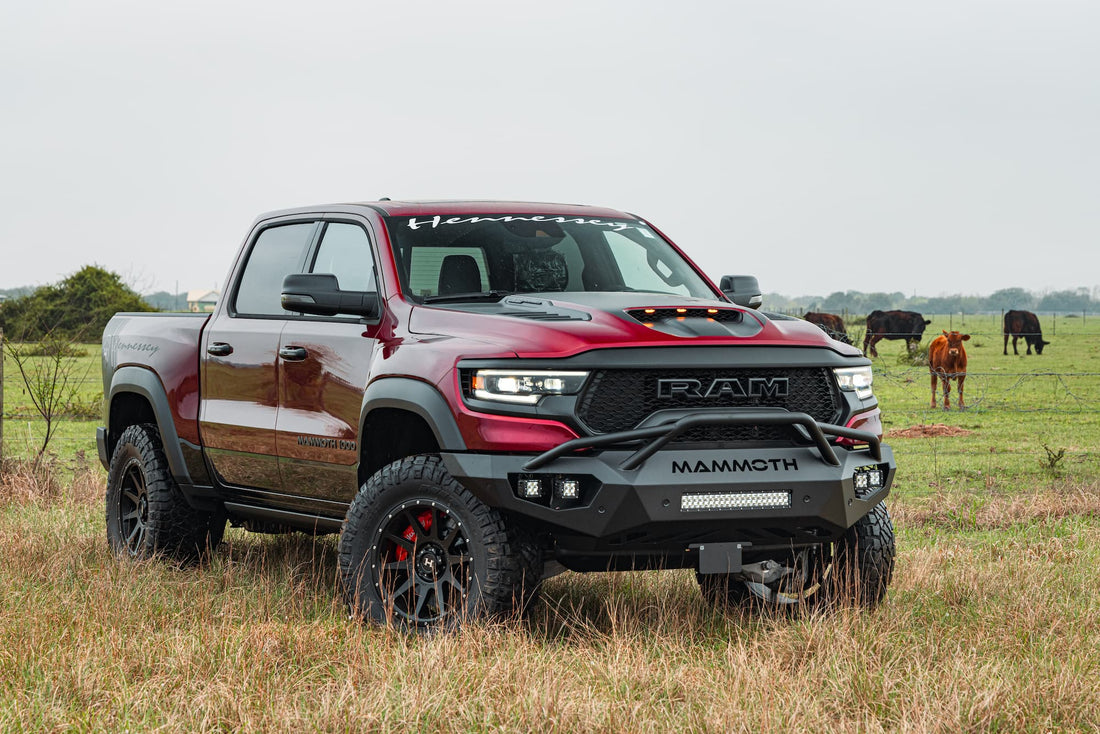
Bumper / Grille Mount
Mounting lights on the bumper or grille provides the best balance of beam angle and direct road or trail contact. It's a versatile position that minimizes glare and maximizes usable forward light. Recommended: 20–30” LED light bars for optimal spread and reach.
Roof / Rack Mount
Ideal for long-range visibility in open terrain like deserts or rally-style environments. Roof-mounted lights can project farther down the trail but may cause glare in foggy or dusty conditions. Recommended: 50” curved light bars to maximize wide-angle coverage.
A-Pillar / Cowl Mount
Perfect for enhancing side visibility without taking up much space. A-pillar lights are commonly used for ditch lighting and to illuminate trail edges. Recommended: 2” LED pod lights for a compact, low-profile solution.
Rear Mount / Reverse Lighting
Essential for backing up safely or lighting up a work area or campsite. Rear-mounted lights provide practical utility and enhance all-around visibility. Recommended: Diffused or scene pods and spreader lights for even, wide-area coverage.
Mounting Strategy by Vehicle Type
Trucks (Tacoma, F-150, RAM):
- Best Fit: 20–30” combo beam bar in the grille or bumper
- Roof Mount: Optional for long-range trail vision
- Add-On: A-pillar pods for ditch and trail-edge lighting
Jeeps (JK, JL, Gladiator):
- Best Fit: 20” bar in the bumper + A-pillar flood pods
- Avoid: Roof bars if hood glare is a concern
UTVs / SxS (Can-Am, Polaris, Yamaha):
- Best Fit: 10–20” compact bar on the roof + rear-facing pods
- Consider: Rear switch pods for work or camp lighting zones
Tips to Reduce Glare and Light Waste
- Use adjustable brackets to fine-tune beam angle
- Apply matte hood wraps or vinyl to reduce reflection
- Always test light angles in the field and adjust as needed
Final Take: Mount for Function, Not Just Form
Mounting lights isn’t about symmetry or filling space—it’s about functional performance. Your setup should be tailored to your terrain, speed, and driving style. Whether you’re crawling rocky trails or flying across the flats, smart mounting makes all the difference.
Need Help Building the Perfect Lighting Kit?
Our team is here to help. Contact us at 1-800-348-1287 or email sales@blackoakled.com for expert recommendations tailored to your vehicle and environment.


